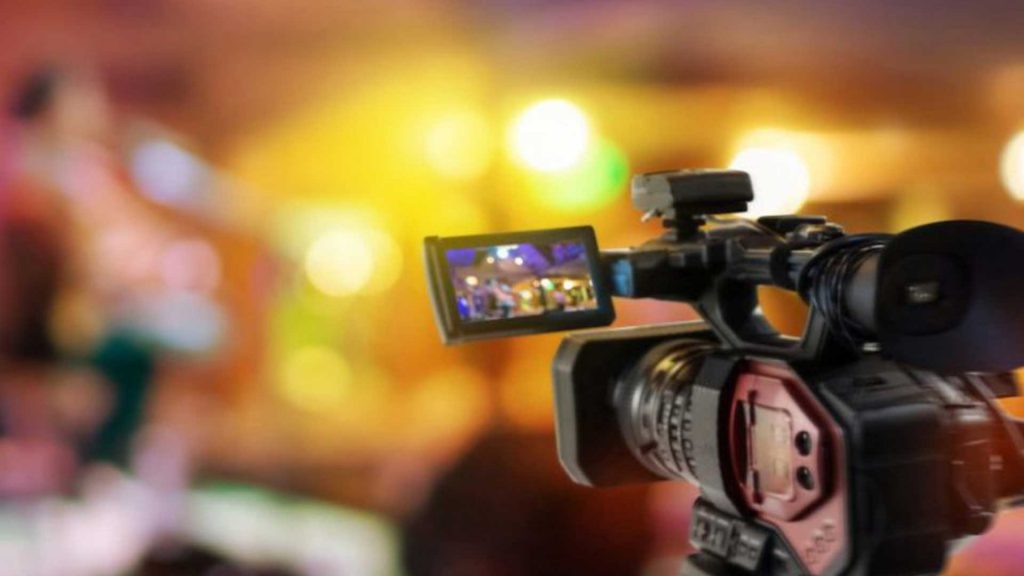
If you have a computer and a camcorder with RCA output, in this post, I will share with you how you can live stream with a $15 budget.
Apart from your computer, camera and an internet connection, you will also need other items like an RCA cable, USB Video adapter and the OBS software.
You can get the
- RCA Cable for $5 https://amzn.to/3aIw050
- EasyCAP Audio/Video USB Adapter for $10 https://amzn.to/39HWJgs
- OBS Studio software for free https://obsproject.com/download
How It works
Firstly, I will explain the structure of this live streaming
- You need a camera to capture the event. The camera I will use for this tutorial is the Sony SD1000 which has an RCA output. You can use any other camera that has an RCA output.
- You need a device that will convert the Audio/Video signals into your computer, here I will use the EasyCAPture USB Video/Audio Adapter.
- You will need software installed on your computer that will stream the audio/visual to a social media platform. OBS Studio will be great for this.
- Finally, you need to have an account on any of the social media platforms. In this tutorial, I will use Facebook.

The Setup
- Connect the camera to the EasyCAP USB adapter with the RCA Cable.
- Plug the adapter into your computer USB port. If you are using Windows 10, the adapter will self-install. You don’t need to do any additional installation.
- Open the OBS Studio if you have it already installed. If not, go to their website (OBS Download Page) and download it for free, run the downloaded file and follow the instructions. After that, open the OBS Studio.
But Why All This Stress?
I know you might wonder “why going through all this when you can do it directly from your smartphone?”. The answer is this –
With this type of setup, your live-stream will look professional like you can add a logo, interlude, intro, and outro, insert text, graphics, play music while live-streaming. It’s just a better way to take your live-streaming to a whole new level.
OBS Studio Setup
Before you open the OBS Studio, make sure the EasyCAP adapter is already inserted into your computer.
On OBS Studio, add a new source by clicking the “+” button and click “Video Capture Device”, give it a name and click “Ok”.
While on the properties of the new source, change the display to “AV to USB2.0“. Automatically, the feed from your camera will appear on the OBS Studio screen. Then to add audio from your camera to your live stream, add a new source by clicking the “+” button again and click “Audio Input Capture”, give it a name and click ok. ; while on its properties, change the device to “Microphone (2 – AV to USB2.0)“.
Now that you are getting the audio and visual feeds from your camera, on your browser go to “FaceBook Live“; Click on the “Create Live Stream” button, select the “Use Stream Key” option, copy the “Server URL“, go back to OBS and click “Settings” => “Stream”, and paste the “Server URL” on the server input, do same with the “Stream Key” and click “Ok”.
On OBS Studio, click the “Start Streaming” button, then on Facebook Live, you should see the feed from your camera. Click the “Go Live” button to start the live streaming. You should see the live tag on the video, and the “End Live Video” button on the lower-left corner of your screen.
Now you are live on Facebook!


